There
are various ways of darkening an
image.Here we shall discuss the method using Brightness/Contrast command.This
method is non destructive which means that it does not make any
changes to the image.Photoshop adds a new layer and applies the changes
to it.

Before After
1) Opening the image in the Photoshop window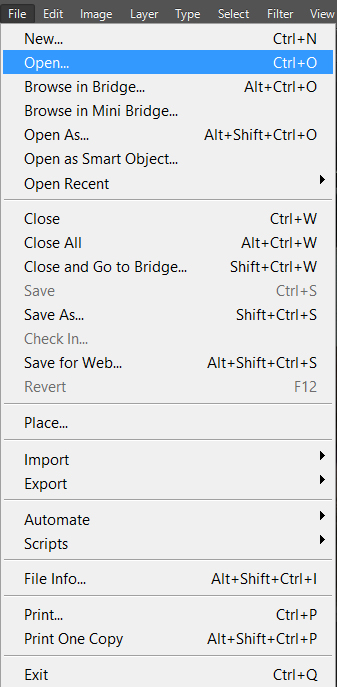

In the layers panel on the right side of the window we can see that photoshop opens the image as a background layer and names it Background by default.
2) Selecting the Brightness / Contrast option
After
we see the image in Photoshop window we need to open the
Brightness/Contrast properties window.For this we need to select the
Brightness/Contrast option.There are two ways of selecting the Brightness/Contrast option.

We can see a dialog box asking the name of the new adjustment layer.By default Photoshop names it Brightness/Contrast 1.If we want we can type in any other name or we can leave it as Brightness/Contrast 1.Click on OK button after naming the layer.

b) The other way to get the Brightness/Contrast option is by clicking on the Create new fill or adjustment layer icon (half colored circle) in the bottom of the layers panel and selecting Brightness/Contrast... option.

3)Brightness/Contrast Properties panel
Now we can see a Brightness/Contrast Properties panel where we can edit the brightness/contrast of the image by dragging the sliders to the left or right.

a)If we drag the Brightness slider towards the left the brightness of the image decreases.
b)We can also adjust the contrast by moving its slider to the left or right.Moving the slider towards the left will decrease the contrast and moving it towards the right will increase the contrast.

c)To exit out of the Brightness/Contrast Properties panel click on the cross mark on the top right of the properties panel or click on the down pointing arrow on the top right corner of the properties panel and select Close.

e)We can also see a new layer with a half colored circle surrounded by little rays added just above the image layer in the layers panel on the right side of the photoshop window.

6)Saving the image
After we are satisfied with the adjustments we will save the image by
selecting the menu File > Save or by using the keyboard shortcut Ctrl+S.This will open a dialog box where we
can write the name of the image.After typing a name click on Save
button.

Thank you for sharing. Very fast and easy to do it. I advise everyone to try. I've done similar things with this https://macphun.com/intensify. I have long wanted to master it in Photoshop. Good luck everyone.
ReplyDelete